Website Post Creation And Editing
Before diving in please skim through the three pages on creating new post. The other pages are:-
There is more than one way of skinning a cat – and whilst that might be true and I have never met anyone who has skinned a cat – there is certainly more than one way of creating content on your posts.
This page has some of the information which you will need if you deviate from using the templates in the Local Pattern option.
I would suggest anyone looking to retain a full head of hair starts off with the technique of adapting the Local Pattern approach.
Once you have created some content through that route then start to explore other options.
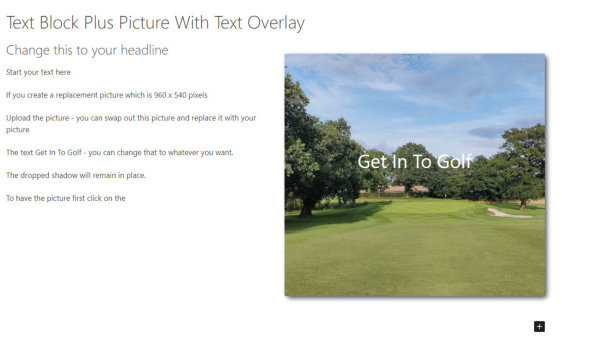
Creating 2 Columns
- Click Posts > Add
- Create a post title
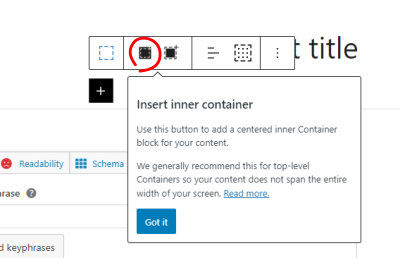
- Click the black box
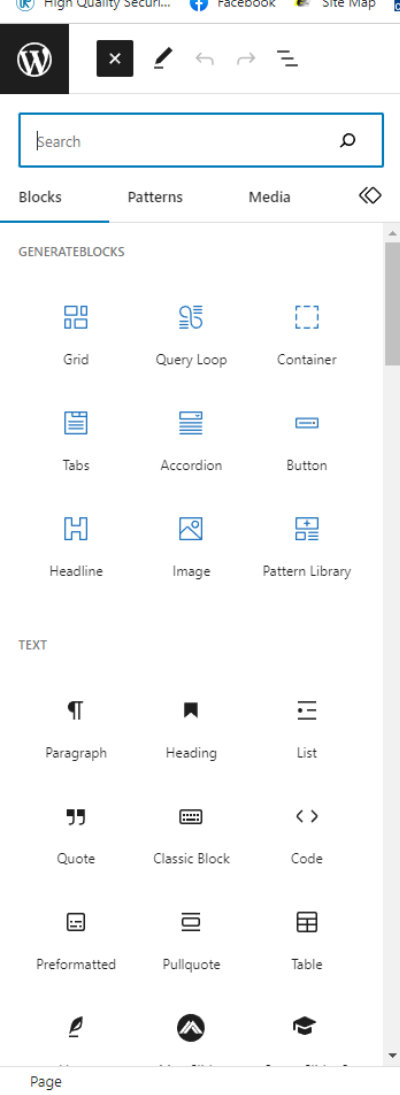
- Search for Container or click Container if you can see it.
- Click Insert inner container
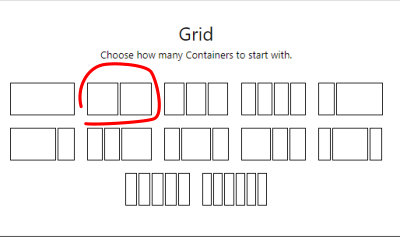
- Click the grid with 2 blocks.
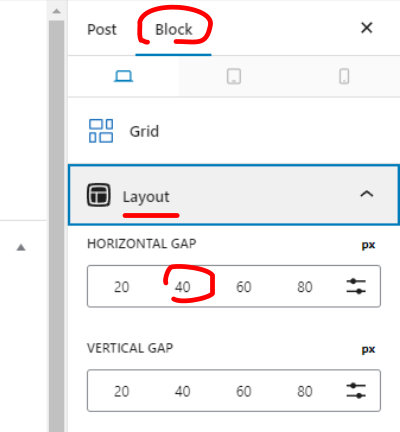
- In the right-hand column click Layout which will open and reveal some more options and click 40. This will make the two blocks have 40 pixels of space between them.
Additional Benefits of Sections With Columns
The sections can be moved up or down.
Suppose you have 5 stories on a page. One per section and you wish to re-order the sections. There is a up or down arrow which can be used to move the sections up or down.
Now You Can Enter Your Text And It Will Be In One Column Half The Width Of The Page
If you only have one block with 2 columns you will not have any issues, but supposing you want to add more blocks? Could it become a bit confusing?
Yes!
The solution the blocks can be named.
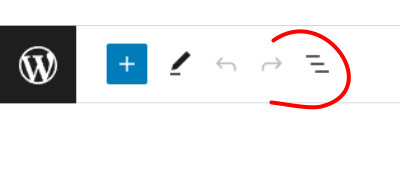
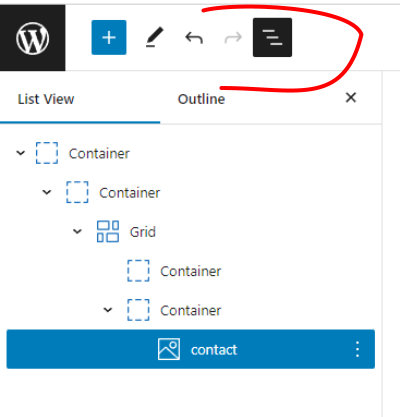
To do that if you navigate to the black graphic with 3 horizontal lines and click on that it will open up and you will see the structure.
Unedited this does not look that helpful. However you can assign a name to each container. The name of the picture comes from whatever you called the picture. Clearly naming your picture jane-doe.jpg is easier to understand that 93847.jpg
To label you containers click on the container and the right hand side click on Advanced to open up the screen
BLOCL LABEL – what you add here will show on the List View.
List View

What Is The Choice Of Code Tools
Container – a box to put your content in
Grid – a chance to divide a container
Headline – a chance to add a headline
Image – insert an image using the option with the sun in the icon.
