

Adding Google Analytics Tracking Code To Your Website
Where / How; do visitors find their way to our website?
A great question – whilst not 100% perfect adding some tracking code to links is a good way of gathering data without relying on people’s memory and staff having to record something.
Eligible links include – your entry in the Google Business Profile so instead of being:-
https://yourcompany.co.uk
The link is
https://yourcomany.co.uk/?utm_source=google&utm_medium=organic&utm_campaign=gbp-profile
However, the user just sees the word Website
Beneath the surface is the code
Adding the UTM tracking code
https://ga-dev-tools.google/ga4/query-explorer/
Use this link to go to the page on the Google website where you can create a tracking code like this.
?utm_source=google&utm_medium=organic&utm_campaign=gbp-profile
and off course add the domain name in front of the code – if you do it then creates a link on the screen like the one below.
This video runs through how to create the URL correctly so it works well with Google Analytics.
The GA4 Query Explorer is a Google Dev Tools utility used to test and construct API calls for the Google Analytics Data API (v1).
When building or testing a report query in the tool, the typical parameters are split into core query inputs, filtering controls, and pagination settings:
1. Account & Property Parameters
- Property ID: The numerical ID for the GA4 property (e.g.,
properties/123456789).
2. Time Parameters
- Date Ranges (
dateRanges): Defines the reporting window using start and end dates.- Start Date / End Date: Formatted as fixed calendar dates (
YYYY-MM-DD) or relative terms liketoday,yesterday,7daysAgo, or30daysAgo.
- Start Date / End Date: Formatted as fixed calendar dates (
3. Data Selection Parameters
- Dimensions (
dimensions): Qualitative attributes used to break down and group your data (e.g.,date,sessionSource,pagePath,deviceCategory,country). - Metrics (
metrics): Quantitative measurements calculated against your chosen dimensions (e.g.,activeUsers,eventCount,conversions,sessions,bounceRate).
4. Filtering & Sorting Parameters
- Dimension Filter (
dimensionFilter): Restricts results based on specific dimension values (e.g., filteringpagePathto only include URLs containing/shop/). - Metric Filter (
metricFilter): Restricts results based on metric threshold conditions (e.g., only showing rows whereeventCount > 100). - Order By (
orderBys): Specifies the sorting order of the output (ascending or descending) based on selected metrics or dimensions.
5. Pagination & Result Control
- Limit (
limit): The maximum number of data rows to return in a single response (e.g.,100or1000). - Offset (
offset): The starting row index for pagination (used when pulling large datasets in batches). - Keep Empty Rows (
keepEmptyRows): A boolean (true/false) that determines whether to display rows where metric values are zero or null.
The code can be used for a variety of jobs.
Send an email out with a link which says “Find Out More…” and when you click that it will use a link which not only goes to a particular page (or the home page) but it will also (if configured carry our tracking code which is then recorded by Google Analytics.)
Place to use:-
- QR codes on business cards
- Leaflets / Adverts
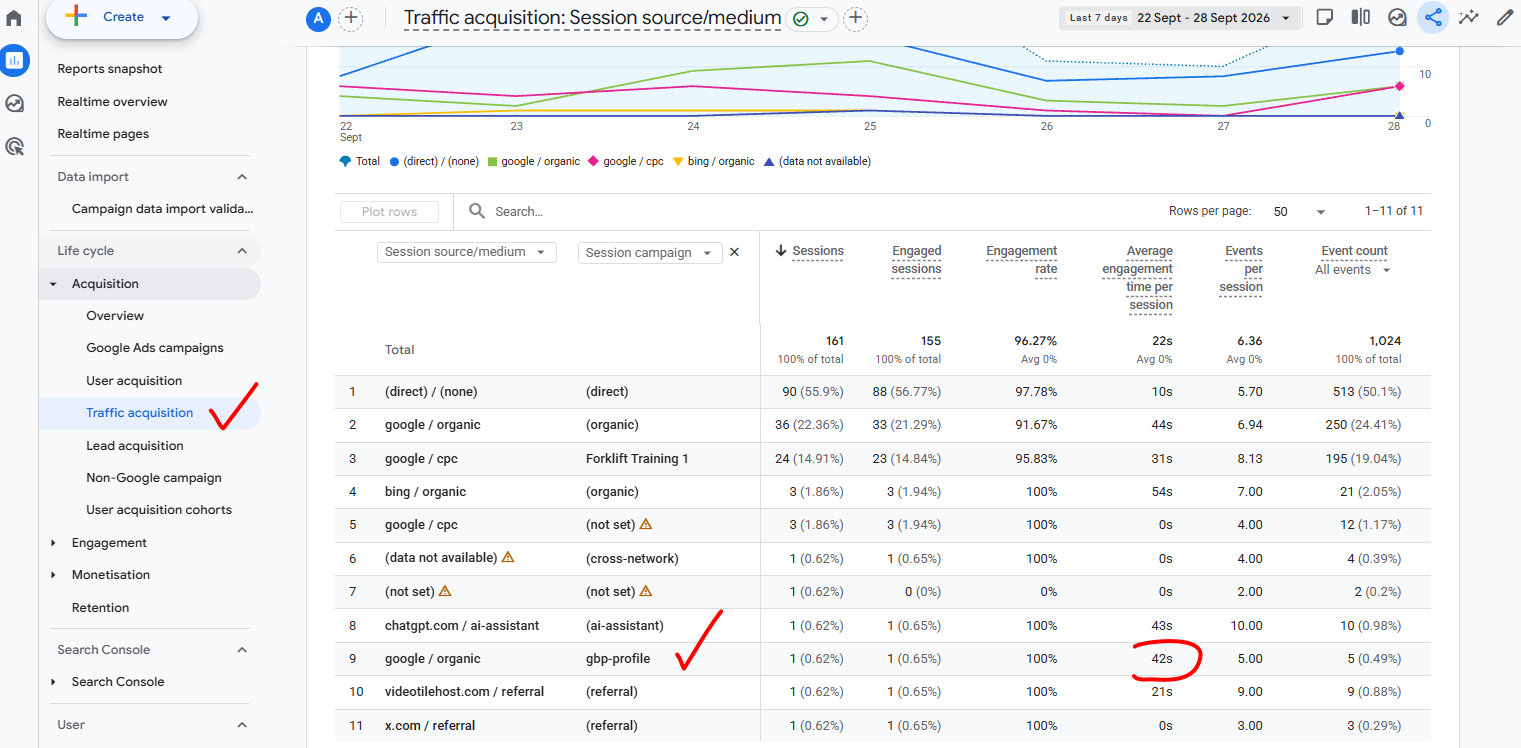
Method A: Switch the Primary Dimension to Campaign
- Go to Reports > Acquisition > Traffic acquisition.
- Click the small drop-down arrow above the first column (where it currently says Session source / medium).
- Change it to Session campaign.
- Look for
gbp-profilein the list.
Method B: Add a Secondary Dimension (Best View)
- Stay on the Traffic acquisition report (set to Session source / medium).
- Click the blue “+” icon next to the primary column header.
- Search for and select Traffic source > Session campaign.
- You will now see
google / organicalongsidegbp-profileon a single row.
4. How to verify it instantly (Real-Time Check)
To test it right now without waiting 24 hours for main reports:
- Open a new tab or use your mobile phone (disconnected from Wi-Fi).
- Search for the business on Google Maps and click the Website button.
- Open Google Analytics 4 > Reports > Realtime.
- Scroll down to the card titled “Event count by Campaign” or “Users by Session source / medium”.
- You should see your live visit pop up immediately under
google / organicwith campaigngbp-profile.
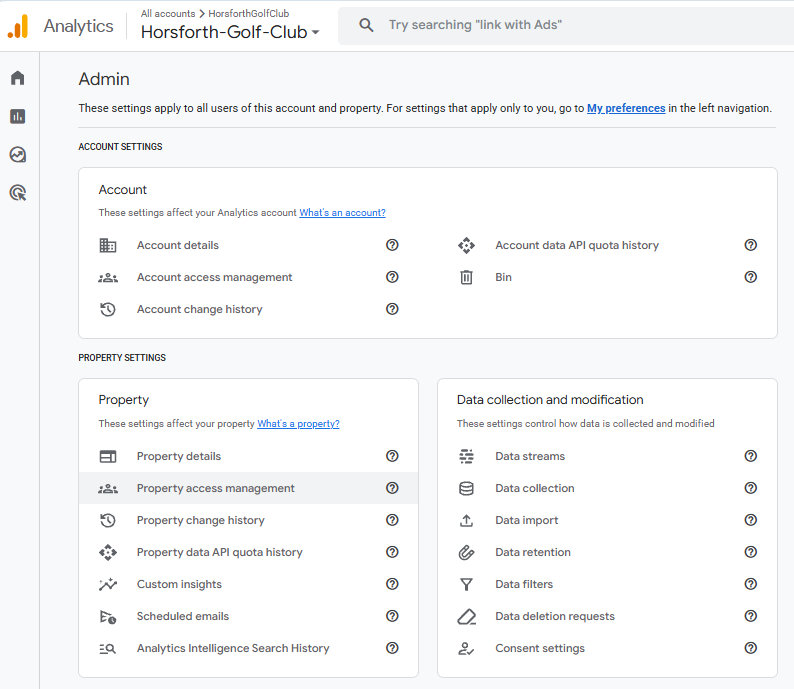
Click the gear icon for the relevant account and then select
Property Access Management
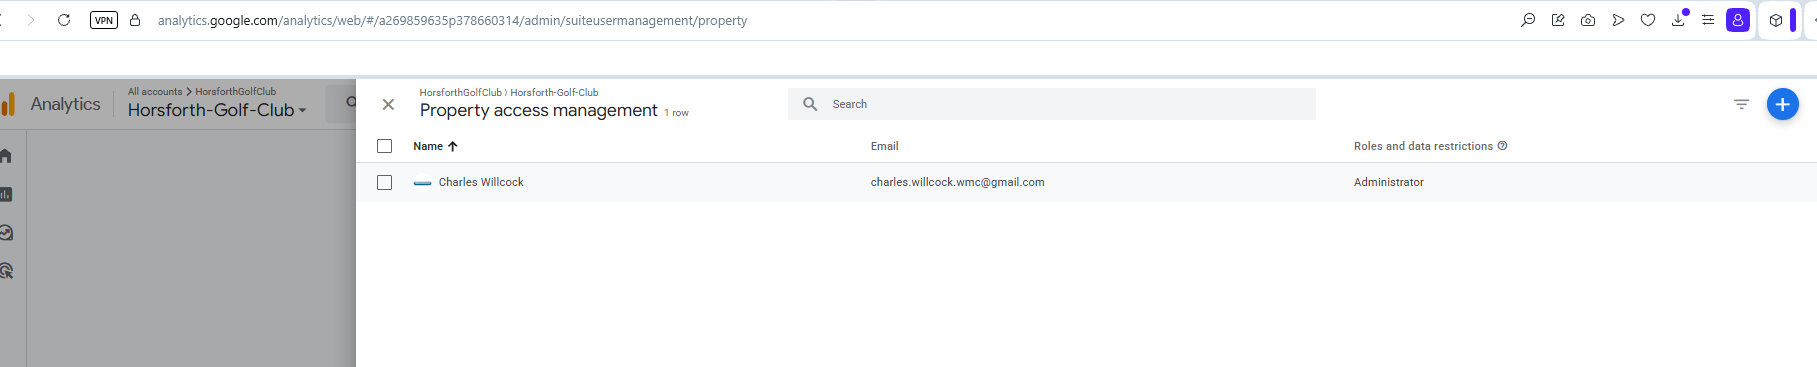
Add person

add the person

Add the person
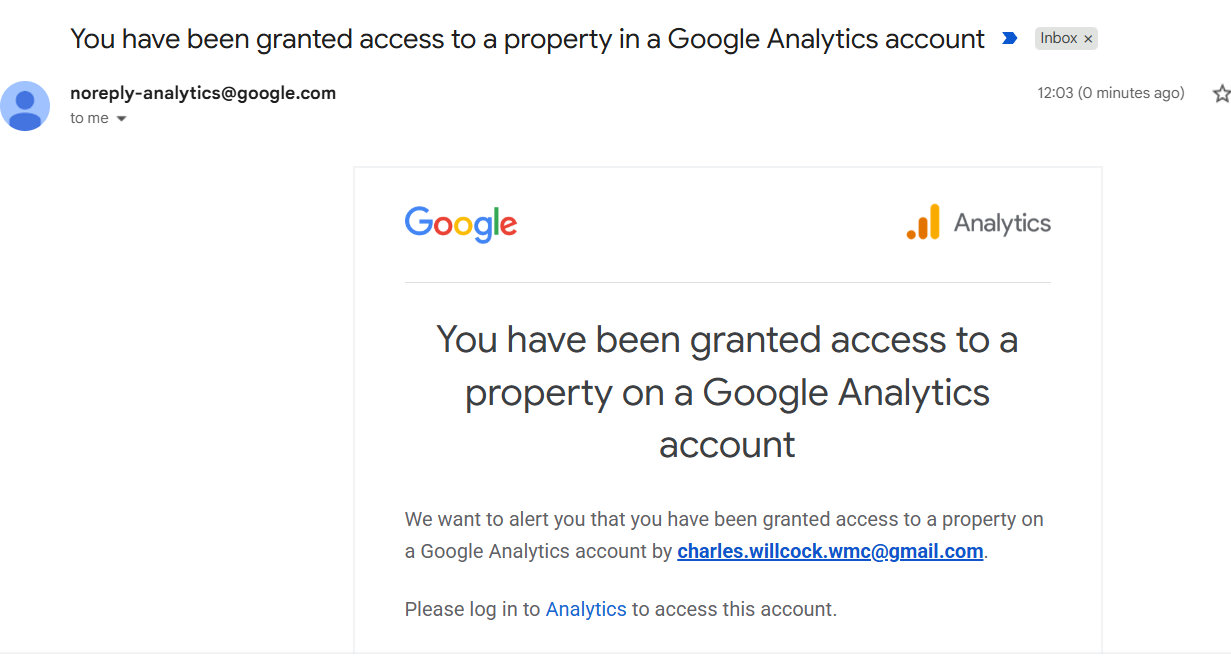
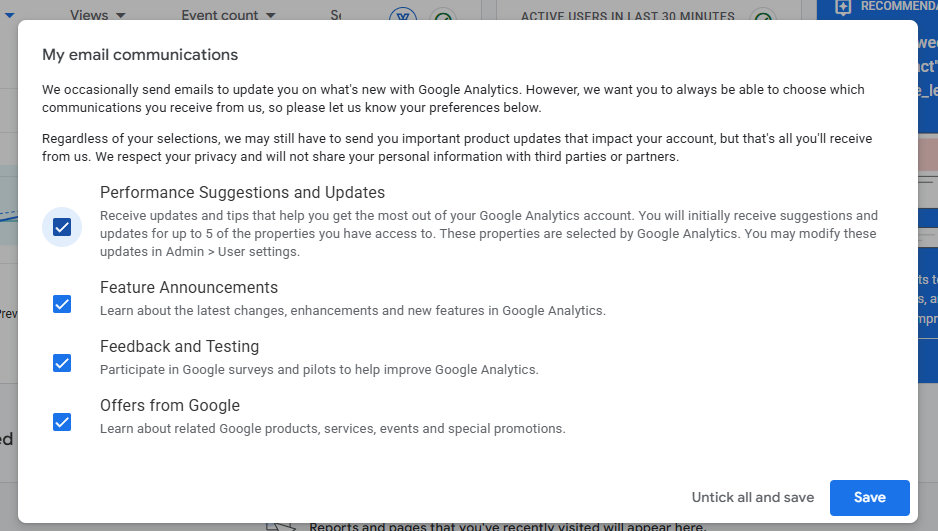
5. Email which you have to accept
6 Features etc.
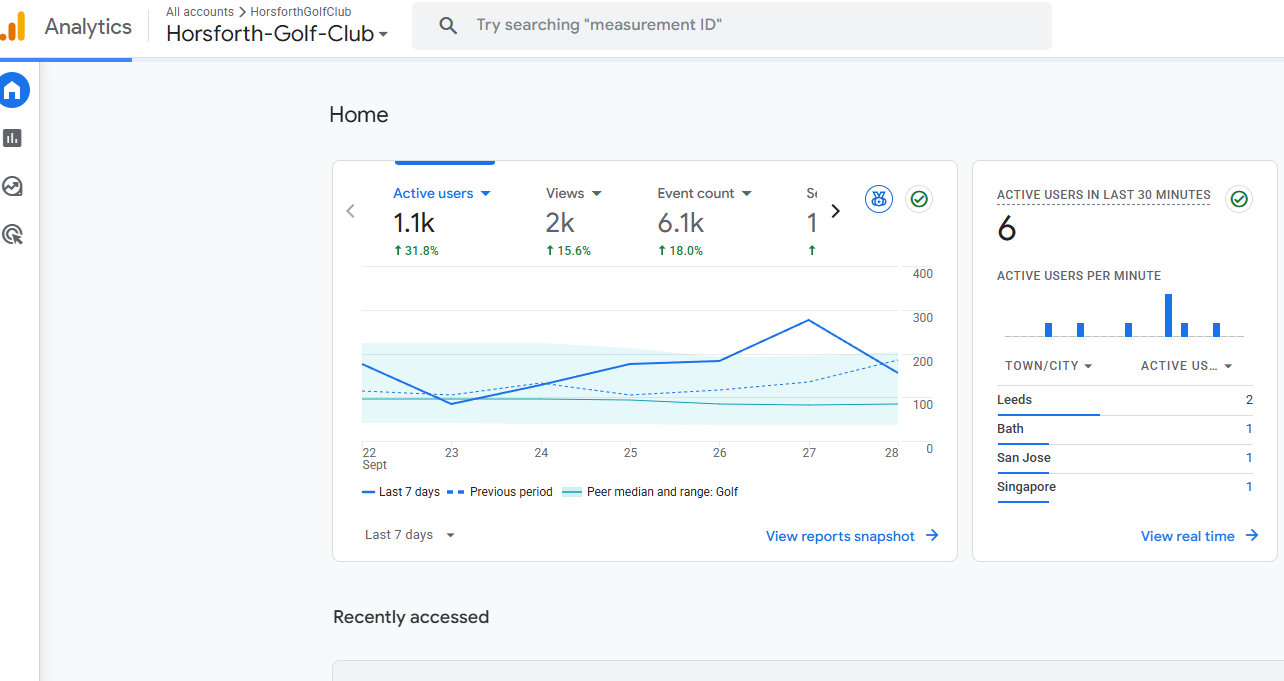
7. Stats
Tracking data


