

Google Account Creation – Non Gmail Email Users
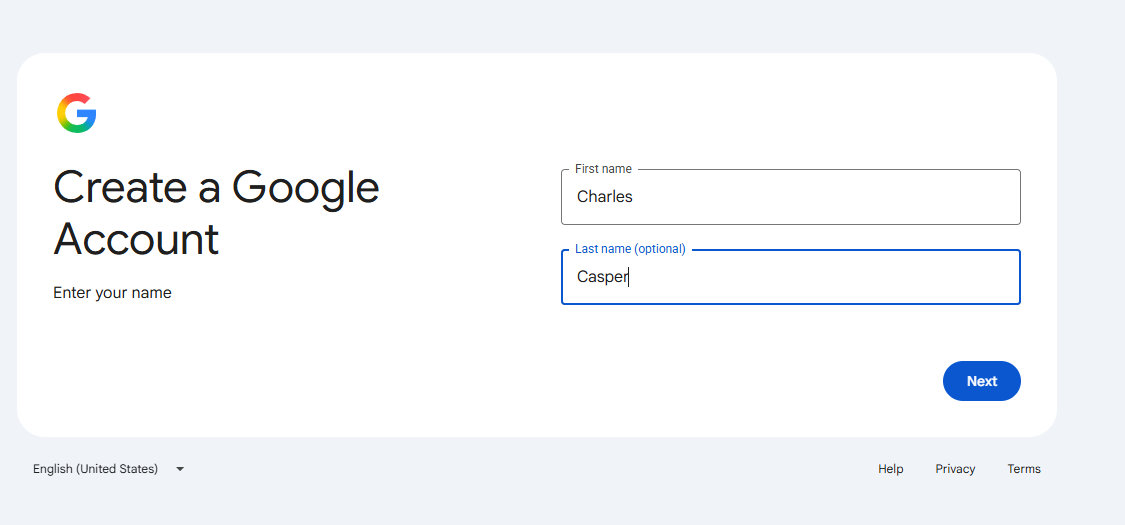
1. https://accounts.google.com/signup
From here you work your way through the screens.
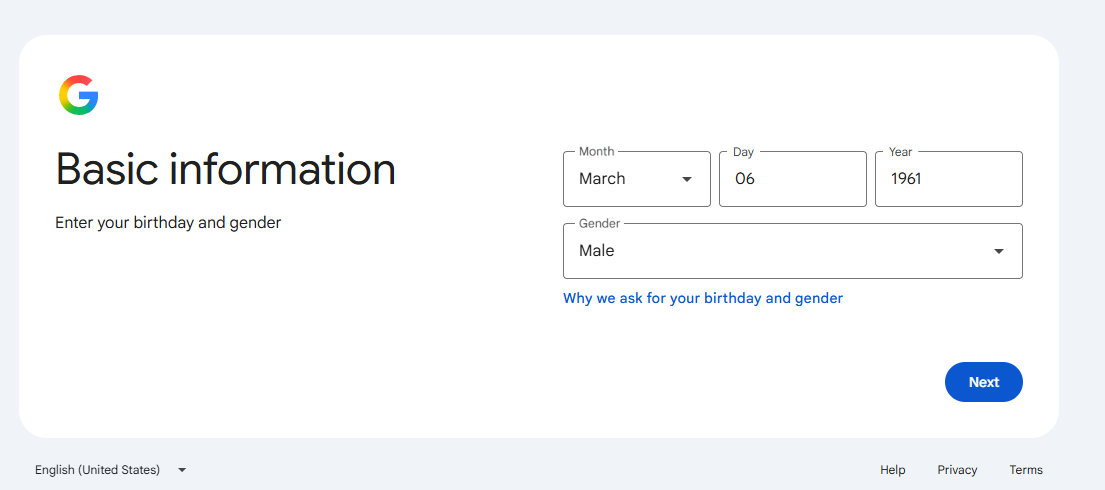
2 There is not any verification apart from the email address will receive a code and you need a mobile phone number to sign up.
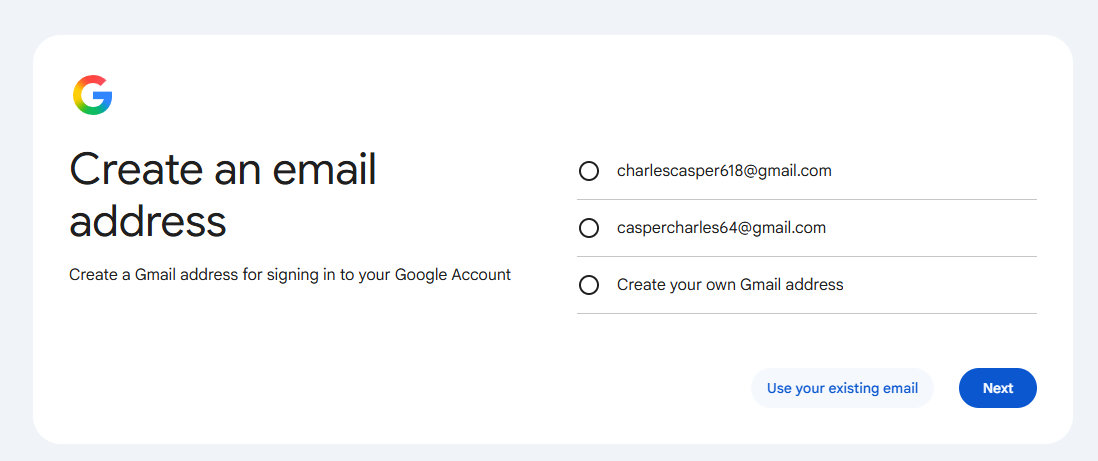
3 Make sure to click the link
Use your existing email
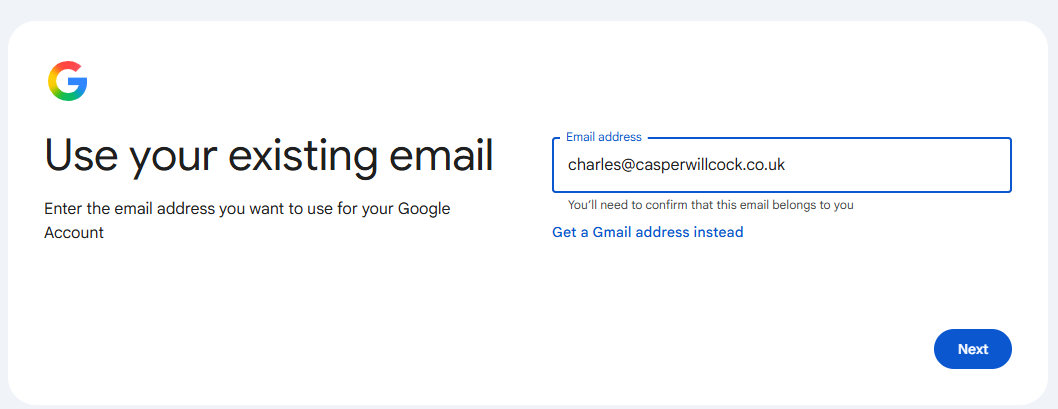
4 add an email address you like using
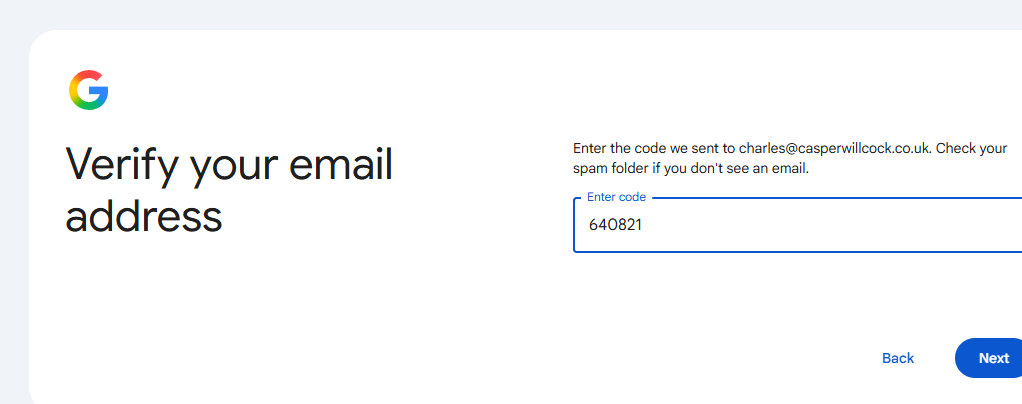
5 That will receive a code and you add that to the verfication box.
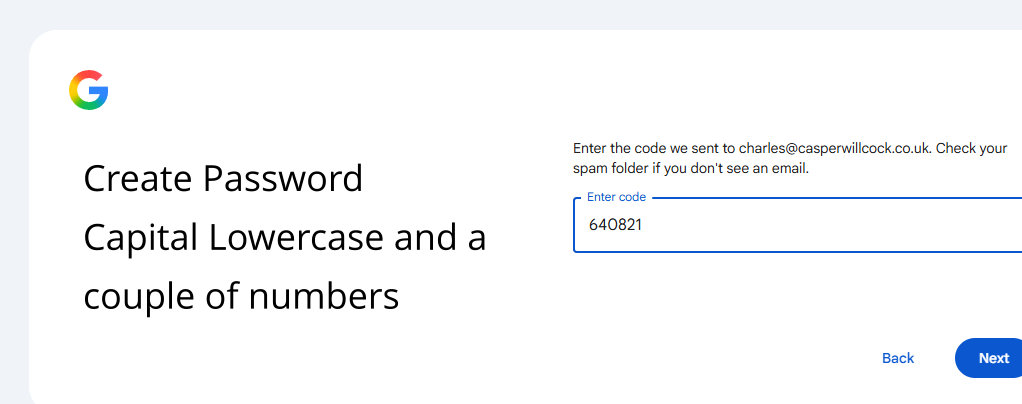
6 Create a password which you will need so record it before you enter it.
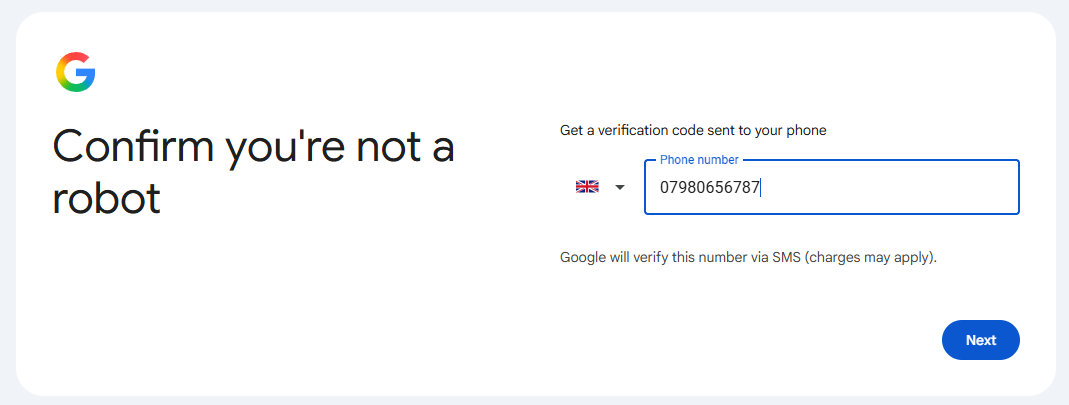
7 At this point you have to add a mobile phone number which has not been used many times before.
These are the three brief final steps to complete the account creation process after entering the SMS phone verification code.
Final Account Setup Steps
Review Account Information:
Google displays a confirmation screen showing the non-Gmail address and phone number.
Click Next.
Express or Manual Personalisation Settings:
Select Express personalisation
Click Next and confirm the personalisation settings.
Privacy and Terms Agreement:
Scroll down to the bottom of the Privacy and Terms screen.
Click I agree to complete the account creation.
Accept the GA4 Invitation: Send the Google Analytics access invitation from your GA4 property to their non-Gmail email address.
Open the Email: Have the client check their regular inbox (e.g. Outlook, BT Connect, or webmail) for an email from Google Analytics.
Click “Accept Access”: They simply click the link in the email and sign in using their non-Gmail address and the new password they just created. They now have direct access to their GA4 reports without ever needing a Gmail account.
How to setup an account video
Google Account Creation Page
You can sign up for a new Google Account using an existing third-party email address by visiting the Google Account Sign In page. [1]
Steps to Create the Account
- Go to the official Google Accounts signup page. [1]
- Click or tap Create account, then select For my personal use. [1]
- Enter your basic information (name, date of birth, and gender) and click Next. [1, 2]
- Choose the option Use your existing email instead of creating a new Gmail address. [1, 2]
- Type in your current non-Gmail address and click Next. [1, 2]
- Enter the verification code sent to your existing email inbox to verify ownership. [1, 2]
- Follow the remaining onscreen instructions to set a password and finish setting up your account. [1, 2]
If you run into any issues during verification, tell me which email provider (such as Outlook or Yahoo) you are using so I can give you specific troubleshooting steps.


